
I’m often asked for a basic sourdough recipe and for some reason I have never done a post that is just simply that. A simple, every day sourdough bread recipe.
Bit of an over sight really as so much of this blog is designated to bread. After three years, I still find making sourdough an incredibly enjoyable experience.
I like to make it, I like to eat it and I like seeing other people start on their own sourdough journey. The contagious excitement of when a first bubble appears of a newly made starter. The shared joy of an exceptionally tasty freshly baked loaf. The jump up and down happy feeling of a new mixer arriving. The relief and happiness of hearing that one of your recipes have been used and loved and now in turn as been passed on to someone else.
I tell you, it’s true bread nerd stuff, but I love it, I really do.
For anyone that has vaguely considered making their own bread and they would like to give sourdough a crack, this recipe might be helpful to start off with.

If you don’t have a starter here is post on how to make one.
Or if sourdough seems far too daunting at the moment and you would really just rather try making some regular bread, this post here.
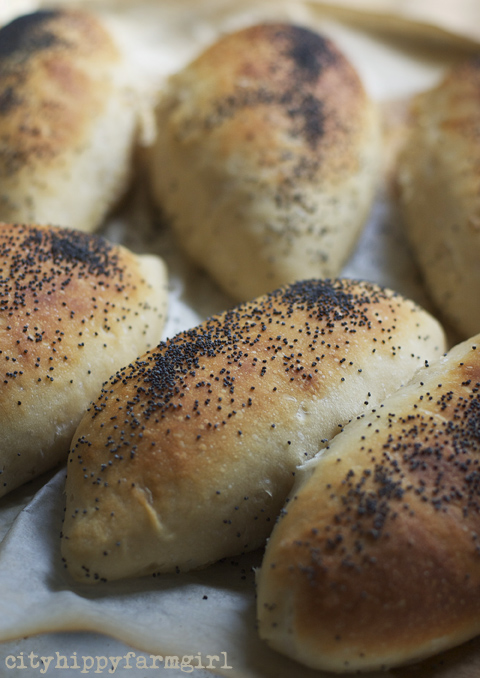
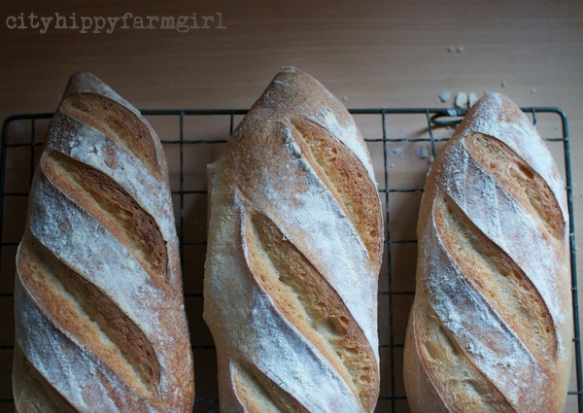
Basic Sourdough Bread
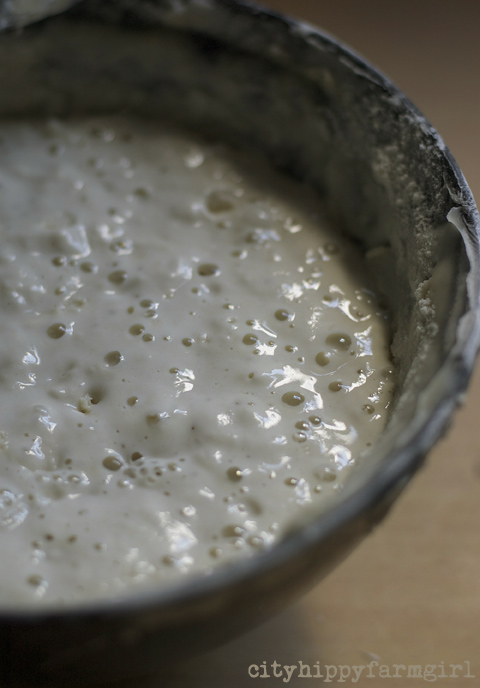
400g starter (100% hydration, refreshed and bubbling)
750g flour
500mls water (approx- depends on your starter and flour)
2 tsp salt (or to taste)
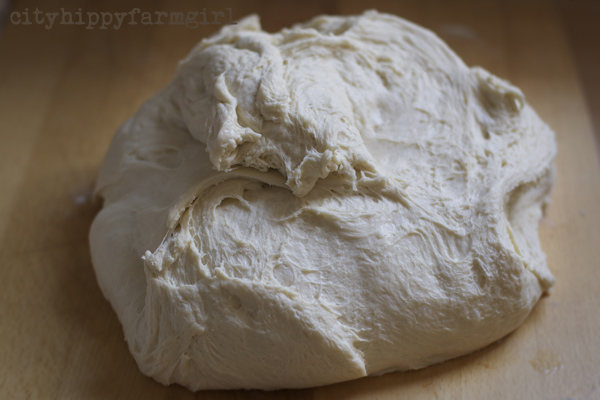
Mix your starter, flour and water together either in a mixer or in a bowl with a spoon. Mixing for about 6 minutes. The dough will be kind of rough and shaggy.
Now leave it. Go find something else to do for about 40 minutes. (Bread magic is beginning…or autolysing but bread magic sounds better. You are developing the gluten here.)
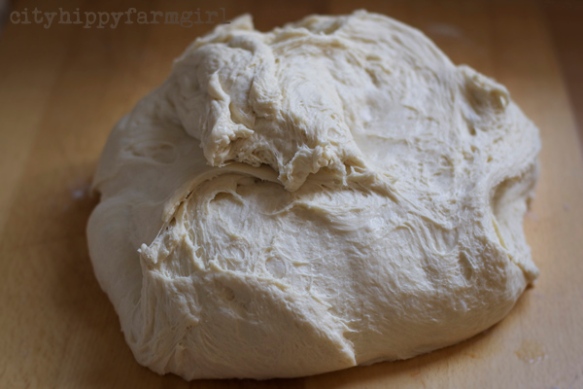
Add your salt and mix again for about another 6 minutes or if by hand until you get a smooth dough.
Put it back in the bowl and leave it for about an hour.
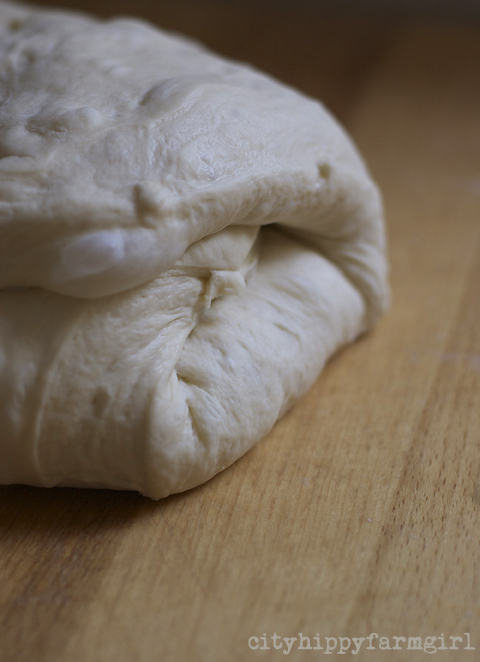
Now you need to do a three way fold. It will take about twenty seconds, (and you are not kneading.) Dough out on to the bench. Flatten a little with your finger tips and fold a third into the middle, then the other third. Swing it round 90 degrees and three way fold the other way.
Back in the bowl for another hour or so, another three way fold, and then back into the bowl again for another hour or so.
Divide your dough up and shape it. Laying it on lined trays, banetton baskets or tins, cover it with a plastic bag and into the fridge for an over night nap (around 12 hours.) Bring it back to room temperature. (Depends on the household temperature 1-4 hours generally.)
Bake at 230C with steam, (I use a cheap spray bottle of water inserted in to a crack of the oven door when first putting the loaves in.)
Bread is baked when tapped and sounds hollow. Allow to cool on a wire rack.
Now there 100 types of different ways to make sourdough and each baker will always have there own little tricks and ways to do things. Sourdough is an amazingly versatile beast, that can work in far more ways than regular commercial yeast made bread. There is never a right way or wrong way in my mind. If the end result is an edible loaf of bread that people are enjoying eating, well your way works. Taste buds and preferences can always be catered for as it’s your bread and you can do what you want. As long as you start off with three keys things- flour, water and salt- combine that with time, a little love and you’re in business…the sourdough world awaits.
Happy baking.


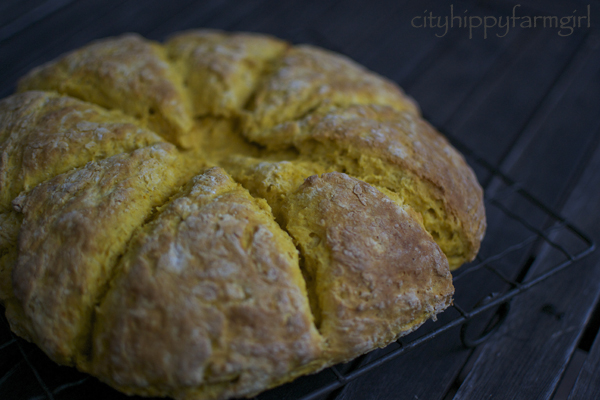
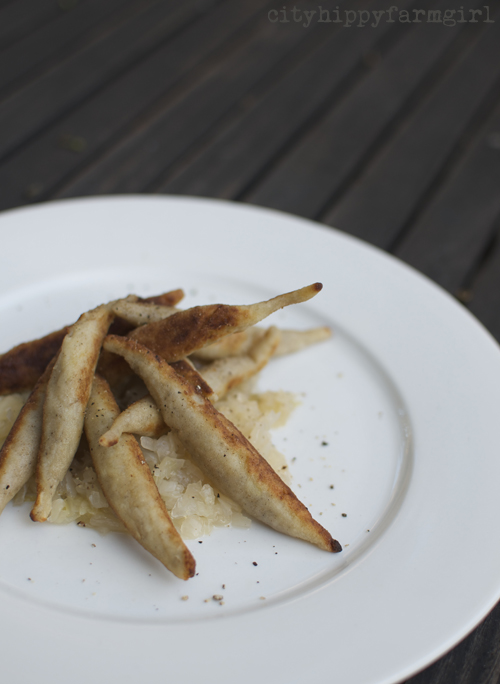 Schupfnudeln