I’ll admit, there was a small evil mother moment pause in the kitchen that particular morning. It was brief, and the thought process went pretty much like this.
I love bitter almond aroma, it would go perfectly in this tart…
…they all hate bitter almond aroma*
Oh!… And there you have it.
The rather large option of an entire tart to yourself because you put something in there (which is delicious and wonderful and makes your mouth sing) or…you could omit it because you are a considerate mother and probably shouldn’t be eating a whole family sized tart to yourself anyway.
Ahh, the dilemmas…

How about you? Do ever have these kitchen conversations with yourself? What would you have done?
* bitter almond aroma is this stuff here if you aren’t sure
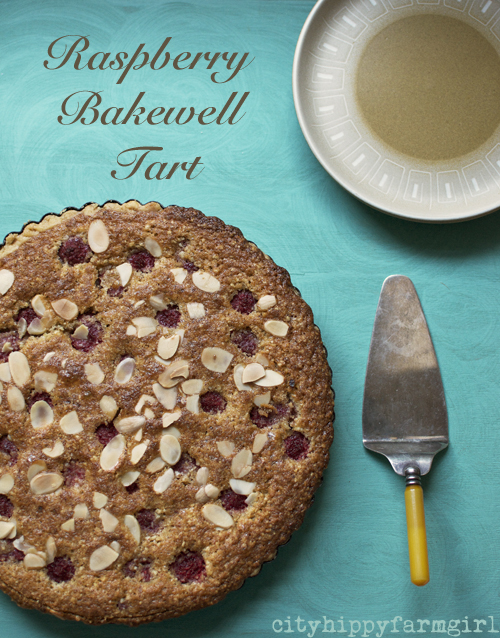
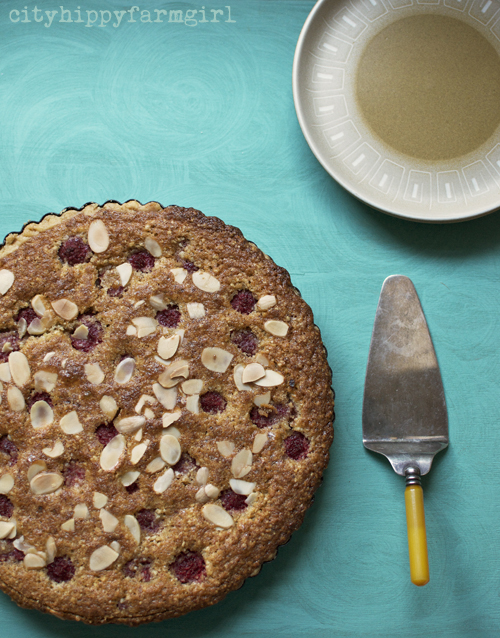
Raspberry Bakewell Tart
Pastry
150g cold butter
50g sugar
1 egg yolk
1 tsp vanilla
300g plain flour
1 tbls cold water
In a blender, pulse flour, sugar and butter until resembles bread crumbs. Tip out to a bowl and add vanilla, egg yolk and cold water. Knead lightly until it comes together to form a dough. Roll dough between two pieces of baking paper, to about .5cm and rest in the fridge for about half an hour. Shape into your greased tart tray.
Bake blind at 180C for about 15 minutes.
Filling
150g softened butter
150g raw sugar
150g almond meal
3 beaten eggs
zest of a lemon
optional bitter almond aroma
approximately 125g fresh raspberries
handful of almond flakes
Mix all ingredients together in a bowl, except the raspberries and almond flakes. Gently fold through the raspberries and spoon mixture into pastry lined pie dish. Scatter the almond flakes on top and bake for about 45 minutes at 180C or until golden.