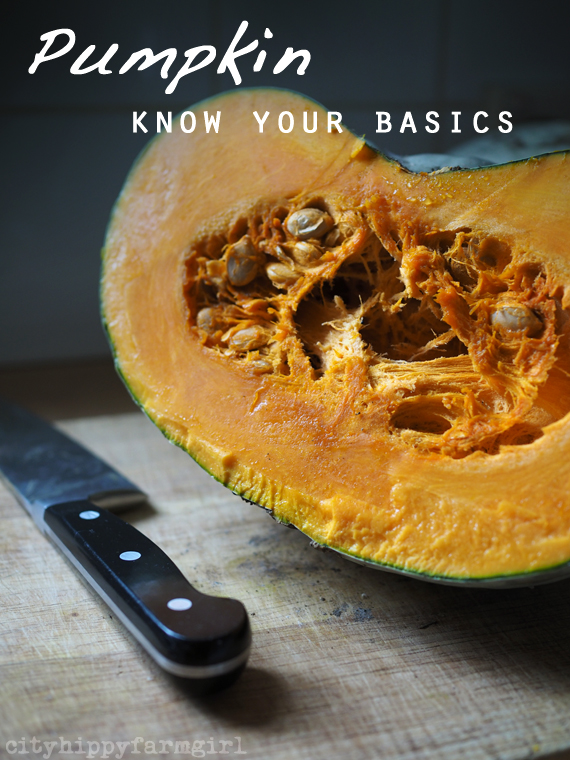
Pumpkin growing lessons arrived thick a fast, starting from the multitude of pumpkin seedlings that shot out from anywhere I plonked compost. To the cutting into that first perfectly formed all rounded pumpkin body. Everything in between was all part of the ‘Pumpkin Education’.
Lesson #1 Pumpkins are EVERYWHERE
These little ladies popped up well and truly everywhere. Anywhere I put compost. There was pumpkin seedlings ready to go. Far too many for the various garden beds so I was selective and only kept the most robust looking ones to continue growing. They are heavy feeders, so keep them going in a good amount of that compost, they’ll love you for it.
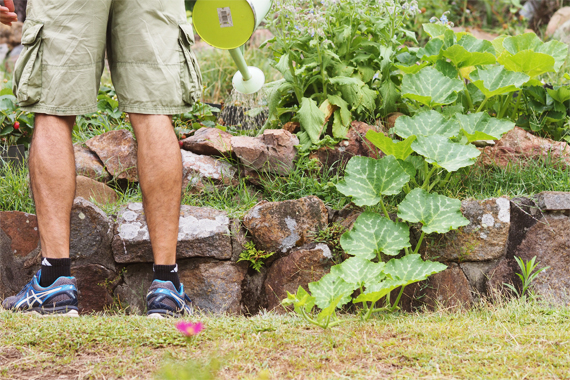
Lesson #2 Pumpkins need SPACE
While their root system isn’t particularly extensive their runners are. They will keep reaching out, and will gently root where ever they’re running along the ground. That’s all good. Just let them do their thing.


Lesson #3 Male or Female FLOWERS?
It’s pretty easy to tell a male and female flower. One clearly has a small pumpkin forming beneath the flower, the other is just an elongated flower. The flowers are open for 4-6 hours generally early in the morning. With our garden beds there was ratio of 1:10 girl, boy flowers.
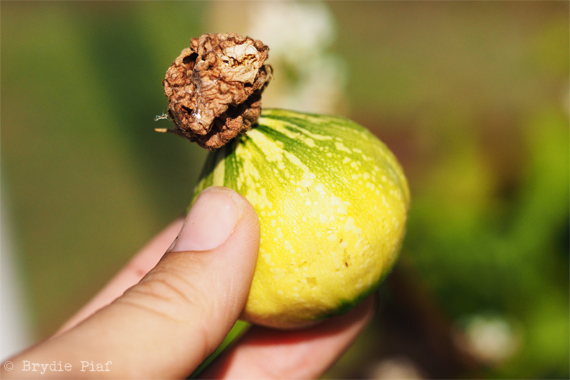
Lesson #4 Female flowers are DROPPING OFF
For a variety of reasons this can happen. Too hot, not getting pollinated, not enough water? I despaired watching every single one of the small baby female pumpkins drop off. What to do? I couldn’t control the weather, I did the best that I could with keeping water up to them, and having a multitude of bees obviously circulating the garden they should have been doing the job of pollinating. But where they?

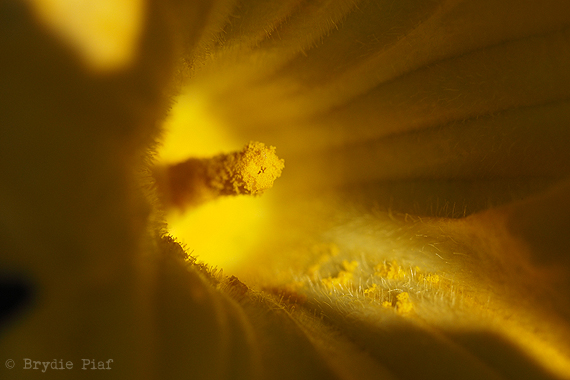
Lesson #5 How to HAND POLLINATE
Oddly, it looks like they weren’t being pollinated. As since I started hand pollinating, I had 100% success rate with pumpkins continuing to grow past flowering stage. How to hand pollinate is easy. Take a stick, gently scrape the stamen of the male flower and rub the pollen against the female. (Or simply pluck off a male flower.)
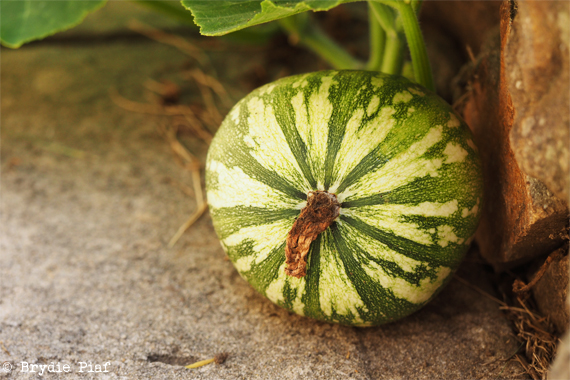
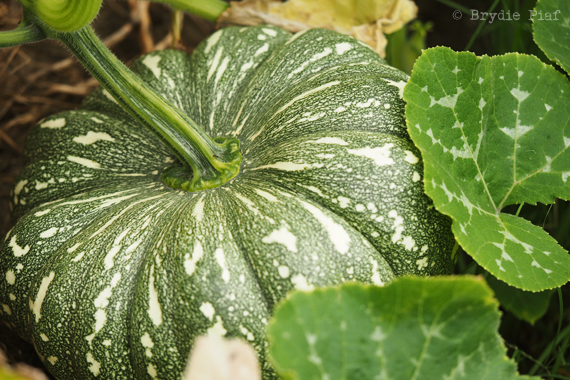
Lesson #6 Watch them GROW
With consecutive days being ridiculously hot over the December and January, I’m sure if I squinted a little, I could see them grow. As I didn’t know what variety I was growing initially, due to having come out of the compost, we had to hazard a guess. They looked like Kent (otherwise known as Jap) pumpkins though, which meant that approximately 100 days needed to pass until harvest time.
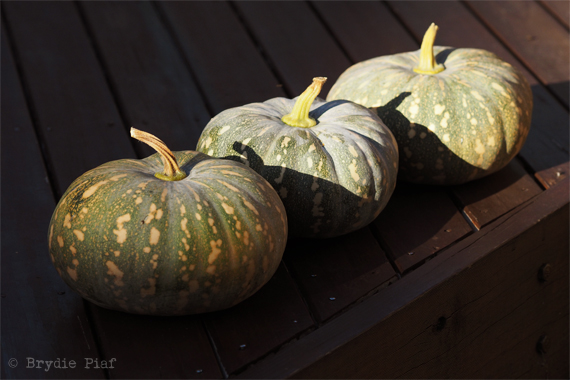
Lesson #7 Time to HARVEST
The pumpkin vine will start to visibly die off. The stalk around the pumpkin will harden, the colour of the pumpkin skin might change a little and if you tap the pumpkin it will sound more hollow than solid.
Lesson #8 How to CURE and STORE
Make sure there is at about 5-10cm or so of stalk, when you cut it from the rest of the plant. You now need to cure it, which means leaving it out in a well ventaliated spot, where the skin will harden and be a natural protective layer. Gently rotating the pumpkin round a bit every few days for thorough air flow. I did pick one a little early in my eagerness to
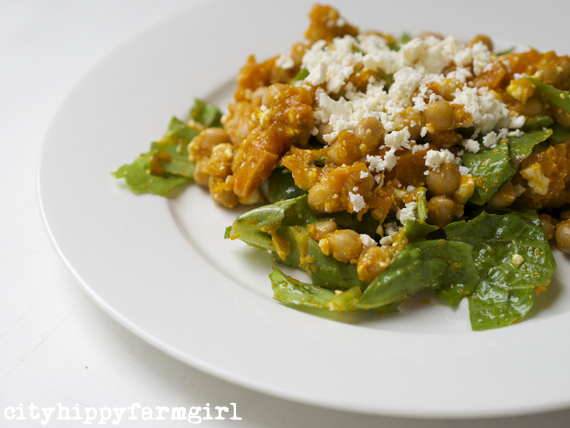
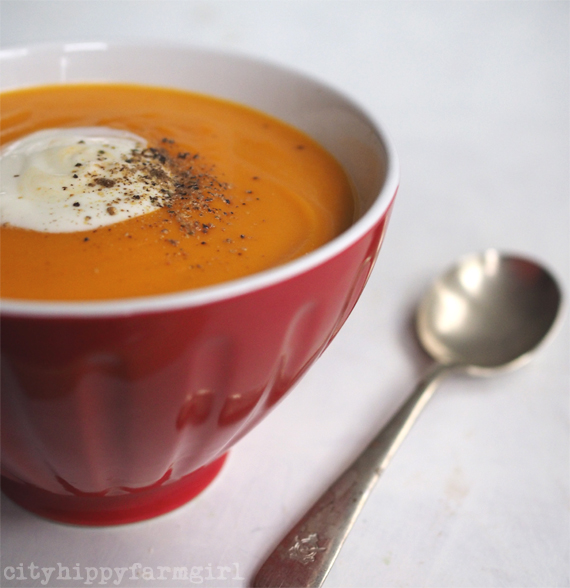
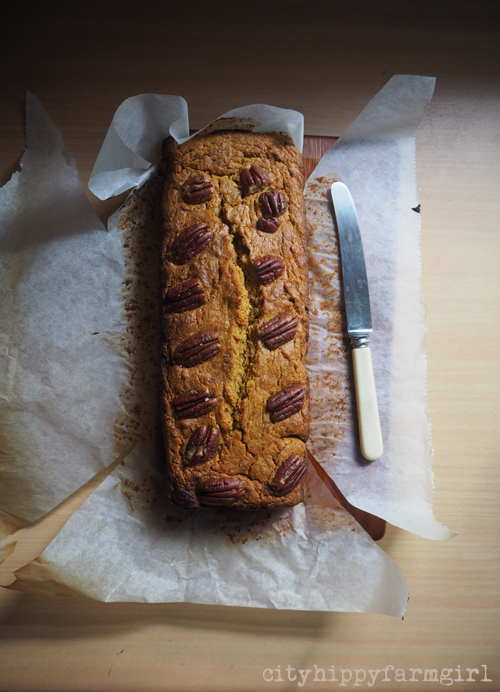
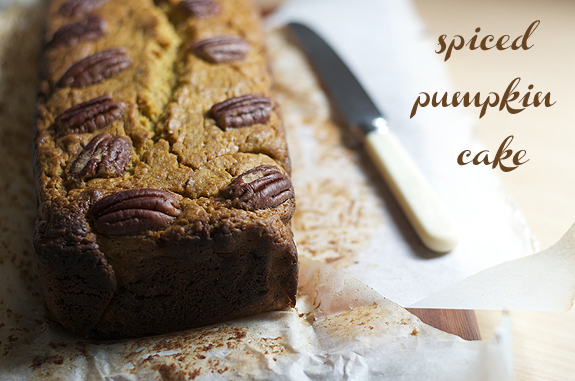
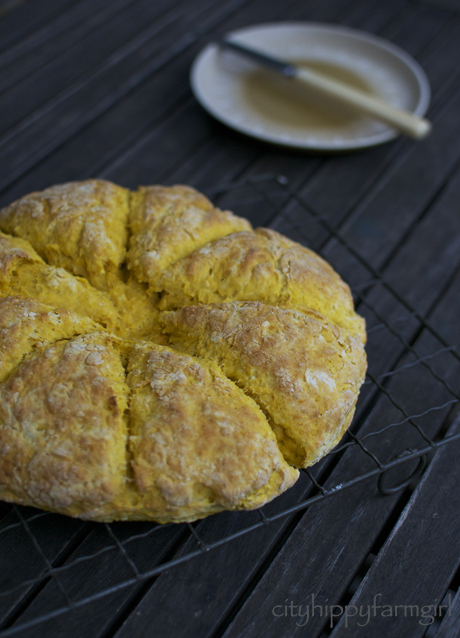
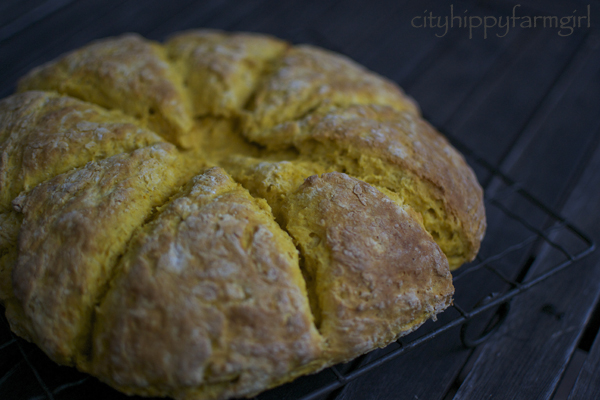
Lesson #9 Favourite Pumpkin RECIPES
Surely the pumpkin recipe possibilities is pretty much endless? (Say that quickly 10 times!) The old favourites Pumpkin and Fetta Sausage Rolls are still, well favourites. Pumpkin dhal an easy frugal dinner, pumpkin scones and winter staple, pumpkin soup. All recipes that are simply far too hot to even contemplate at the moment (still hot, damn hot.) But the good thing is the store beautifully.
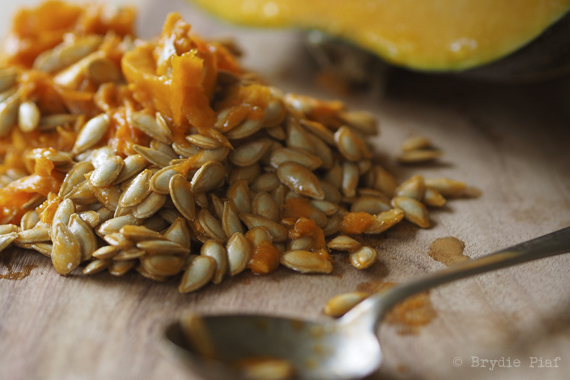
Lesson #10 How to SAVE and STORE SEEDS
Scoop out the seeds, rinse out the gloopy bits and let them air dry really well over a couple of weeks. How you dry and store them is really important, as you don’t want any mould on them. More info on all the how’s on storing, is in a post I wrote over at Milkwood last year.