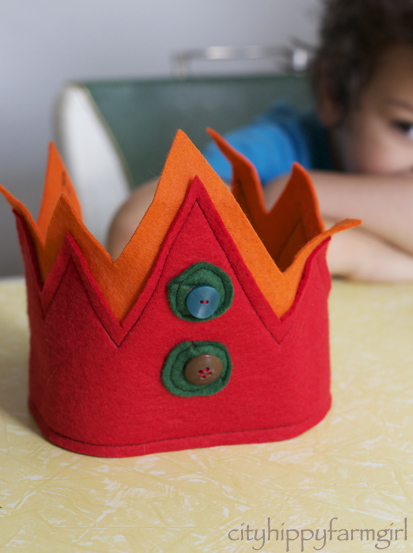
Goddess buns. I definitely liked the sounds of that.
I was doing some reading on the history of hot cross buns. Along with the obvious Christian links, the Anglo Saxon goddess Eostre is also connected. (She also seems to be a goddess that not a lot was known about.) A cross being placed on a bun to represent the four phases of the moon. Eaten during the time of the first full moon after the Spring Equinox. Well how about that… fascinating isn’t it this wonderful world we live in.
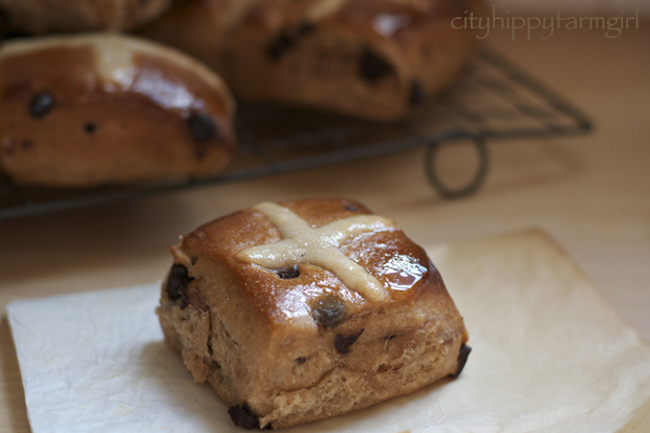
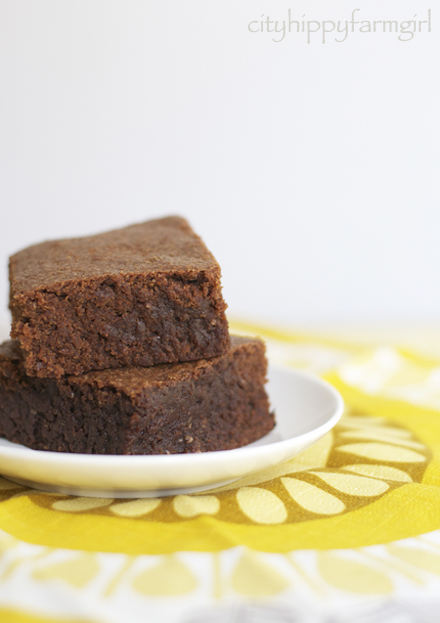
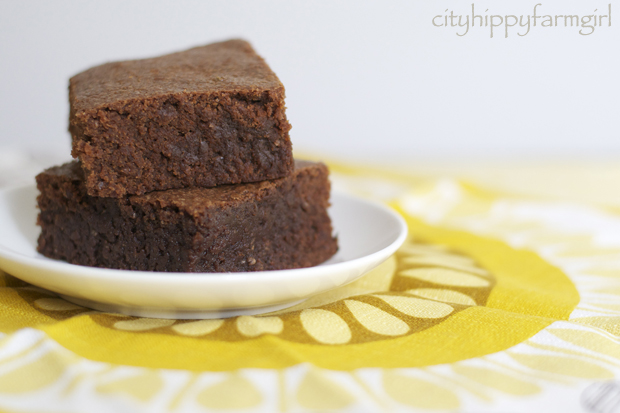
Chocolate Hot Cross Buns
250g sourdough starter
1 tsp dried yeast
100g sugar
250mls water/milk*
100g softened butter*
600g flour
200g dark chocolate drops**
100mls water
2 tsp cinnamon
1/2 tsp cardamom
1/2 tsp dark malt flour
2 tsp salt
Mix all ingredients together, except for the salt. Autolyse period 20-45 minutes. Add the salt and mix again, then turn out on to a lightly floured bench to knead until you get a lovely smooth ball of dough. Pop the dough back into the bowl, plastic bag over the top and leave to prove. A couple of proves and folds over the next few hours. Then out onto lightly floured surface again and divide into 16 or so portions. Roll into balls, or simply divide to get a more square shape. Pop them on a lined baking tray, cover and leave for another prove. The dough is ready to be baked, when you press it in and it lightly springs back.
Crosses
1/2 cup flour
1/4 cup sugar
1/2 cup water
Mix together and spoon into a piping bag just before they hit the oven.
Then bake at 210C for approximately 15-25 minutes, (until golden.)
Glaze
1/2 cup sugar
1/2 cup water
Bring to a simmer for a couple of minutes and then brush on to the hot buns with a pastry brush.
Vegan variations
* to make these vegan, omit the butter and milk. Substituting the milk for water.
** use a dark chocolate without any milk solids, and add two tablespoons of great quality cocoa
This post submitted to the always wonderful yeastspotting.