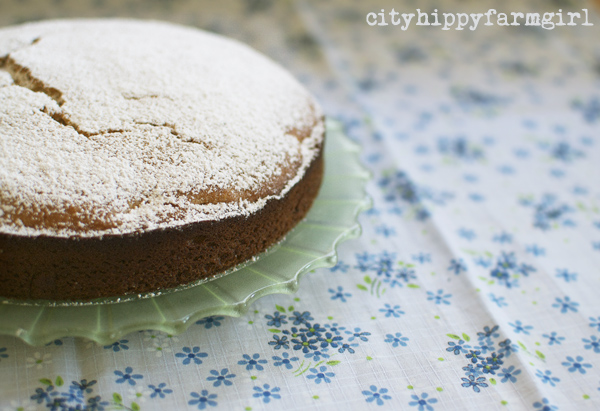

There are two kinds of people in this world. Those that like marzipan and those that would well, rather not. Not me though, I love the stuff. I mourn the shift in wedding cultures that don’t seem to have the traditional densely fruited cake covered in marzipan any longer. For me, it was the highlight of a wedding. How can they serve a carrot cake or chocolate mud instead I ask you? Oh how?
I still can’t quite put my finger on why I like marzipan. It’s a textural thing, kind of gritty and ever so slightly medicinal tasting. There’s just something about it that just quietly whispers to me.
I was first drawn to the lovely Joanna’s blog over our mutual love of marzipan across the seas of the world. I am also lucky enough to have a dear friend that would quietly slip in a little marzipan log into my bag, whenever I was having a tough day. (You see, marzipan has special healing properties, that very few people are aware of- it really is the good stuff.)

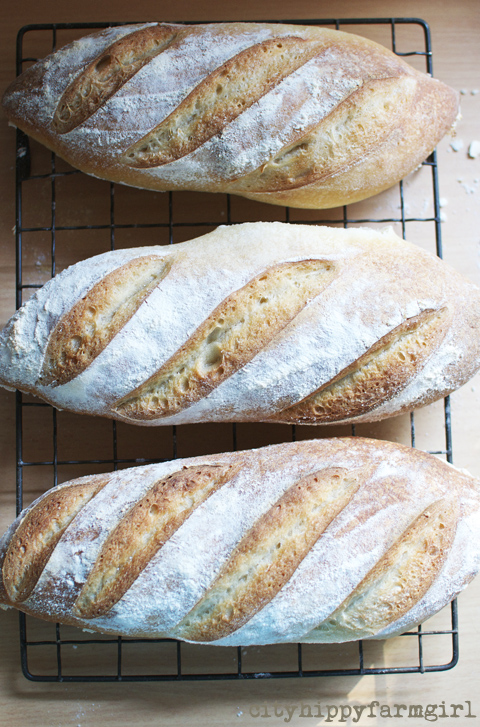
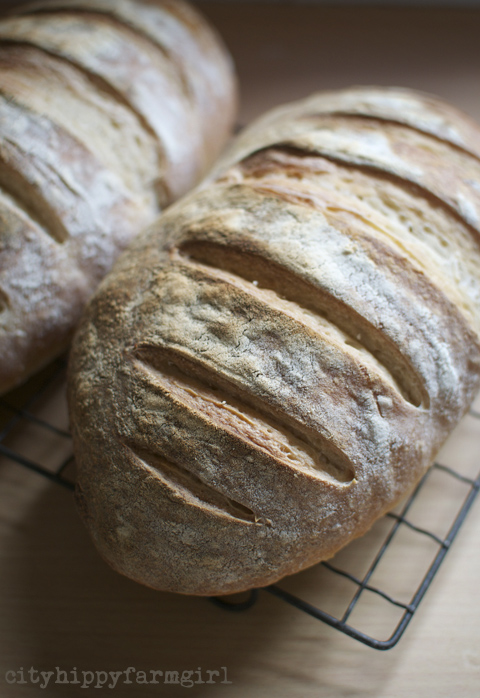
As I don’t seem to be going to many marzipan laden fruit cake filled weddings at the moment, I have to find my fix somewhere else. That’s where stollen steps in.
It had been awhile since I had made it last, three years to be exact, and quite frankly it was time to give it another crack.
Stollen
(makes two big ones)
500g mixed dried fruit
80mls amaretto
300g sourdough starter (or 2 tsps of dried yeast)
600g flour (4 cups)
200g softened butter
50g brown sugar/raw sugar
1 tsp cinnamon
1/2 tsp cardamon
1/2 tsp ginger
2 beaten eggs
zest of a lemon
200-250mls water
Extras
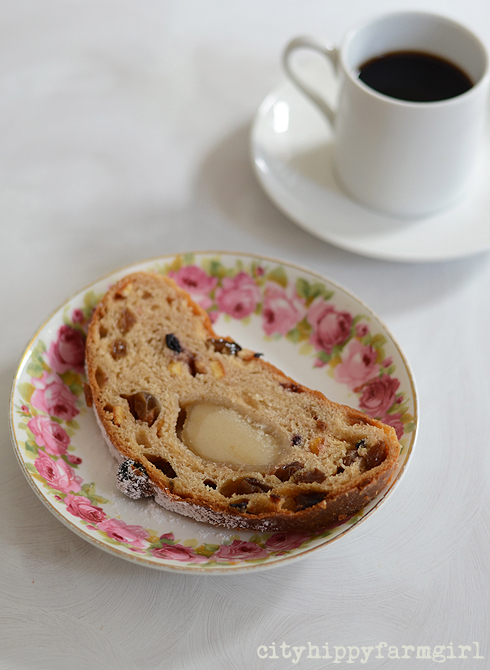
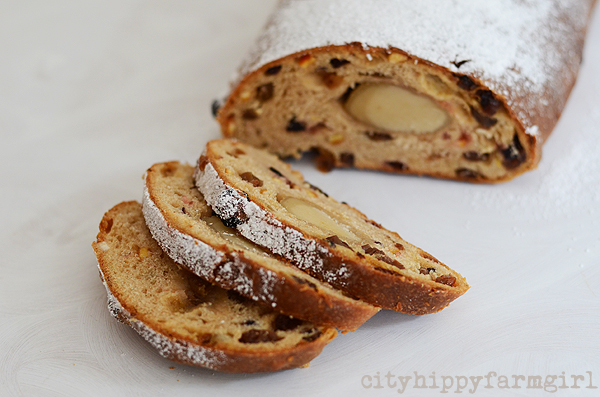
500g marzipan
100g melted butter (extra)
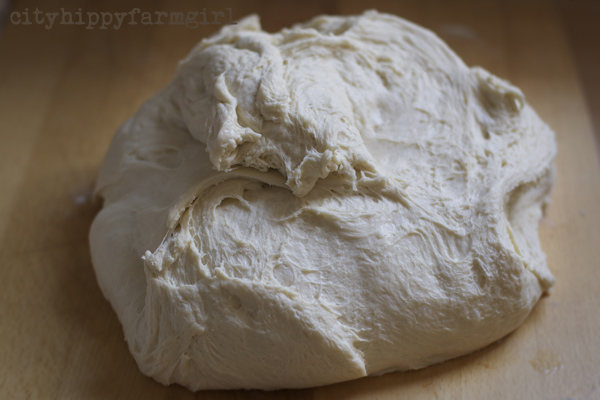
To begin with, soak the dried fruit in the amaretto overnight. The following day, mix the dough- add starter, soaked fruit, flour, sugar, spices, butter, eggs, lemon zest and water. (Go slowly on the water, the amount you’ll need will vary depending on your dried fruit, flour and starter.
Mix the dough for about 8 minutes on a low speed. Allow to prove for about an hour and then give the dough a quick fold. Prove again for several hours. Meanwhile divide marzipan in two and roll into a log of about 20cm long.
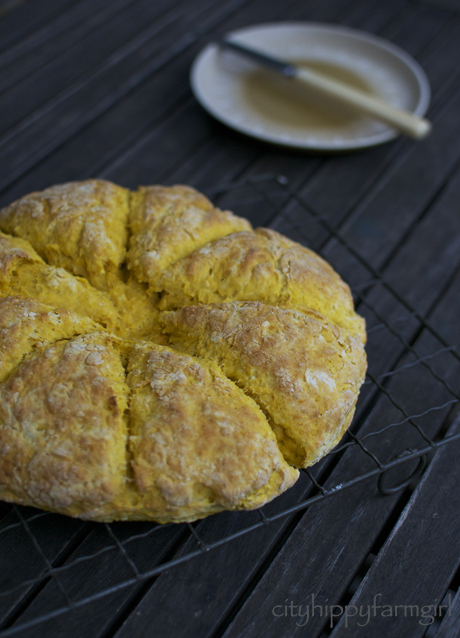
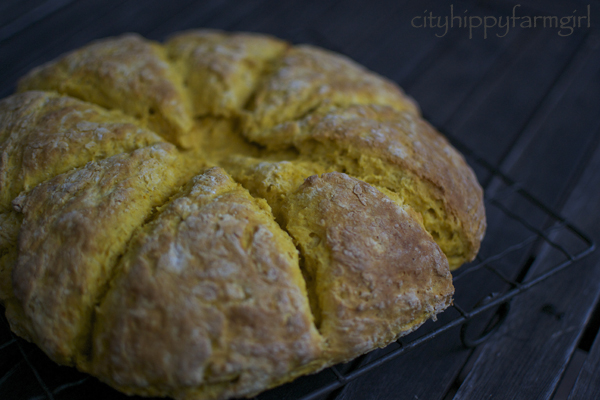
For the dough, divide it in half, slightly flattening with finger tips to make a rough rectangle. Place marzipan in the middle and roll it up within the dough. Place on a tray, cover with a plastic bag to create a humid environment and allow to prove for another couple of hours. Preheat oven and bake at 180C for approximately 45 minutes, or until golden. When out of the oven and still hot, brush with 100g of extra melted butter between the two stollen.
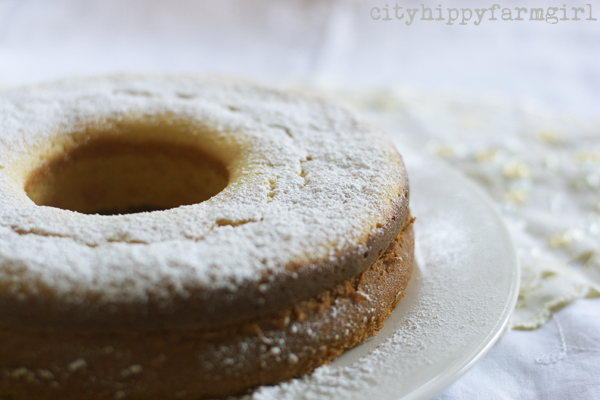
Allow to cool and wrap in baking paper oven night, the following day drench the stollen in large amount of sift icing sugar.
Serve small slices with excellent coffee and bundles of enthusiasm.
************
this post submitted to the always delicious yeastspotting