I’m not sure why but this post is the one that keeps getting bumped to the bottom of the pile. Time and time again this is the post that gets discarded and ignored.
Why? I’m not really sure. I love the caramelised onions, I love the tart and have made it several times now, so why do I keep bumping it off? One of the many mysteries of the blogging world I suspect.
Not today though. Not today will I bump it off in favour of a shinier post.
Today I will keep typing and press publish. It’s the right thing to do.
How about you? Do you have a blog post that for 547 reasons, has yet to see the light of day?
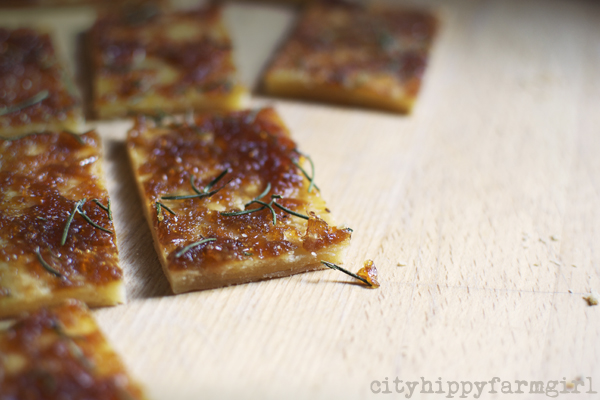
caramelised onion tart
Pastry
(in a blender)
300gms plain flour (2 cups)
and
200gms cold butter cubed
pulse until resembles bread crumbs
tip out to a mixing bowl
and add
110gms natural yogurt and
1 tsp white vinegar
Mix together. Quick knead on a floured surface until a dough ball forms. Cover with clingwrap and pop in the fridge for about an hour. Cut ball of dough in half and roll out to the shape you want. I rolled out to a rough rectangular shape 1/2 cm thick. Prick with a fork all over and into the oven for about 15-20 minutes or until golden at 200C. While that’s cooking make the onions up.
Caramelised Onions
6 onions or so into 1/8th’s and pulsed in the blender
tip into a wide bottomed pot and add
4 good slugs of olive oil
and now cook them off on medium heat (about 20 mins or so)
add 300g brown sugar
and 3tbls of balsamic vinegar
and again on medium heat for another 15-20mins or until mixture thickens slightly and looks darker and glossy. (Easy to store in a jar, and keep in the fridge.)
Spread the onion mixture over the cooked pastry, add some fresh rosemary. Back in the oven for 10 or so minutes at 200C.
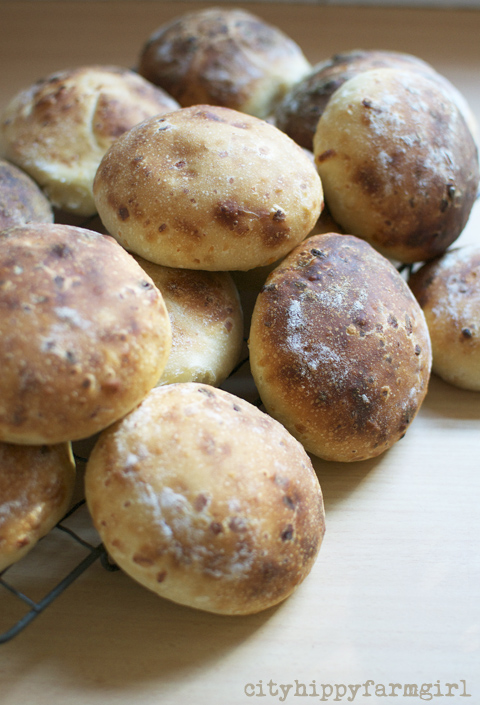
Bread is one of those amazing things, that quite often take anything you really throw at it. I’d read Joanna’s post on Cheese and Onion bread last week and it had wedged in my mind. I wanted in on that, and had grand visions of sumptuous burgers with lashings of sauce dripping down my chin and (probably quietly dripping down into my sleeve. ) Yep, I wanted in on that alright.
I didn’t have some of the ingredients that Joanna had used so I decided to throw what I did have in there and see what the results would be. Cheese, caramelised onions…hell, lets shove some beer in there too.
Mix again. For a wonderfully detailed example of what to do with your bread after it’s mixed see Joanna’s post here. Other wise do what you normally do in a bready fashion.
I baked mine at 230 for 10 minutes and then down to 210 for another 8 or so minutes, swapping shelves.
**********
The beer, cheese and caramelised onions give a lovely chewy, soft texture. Perfect for burgers or as pictured above, an easy sautéed mushroom and melted cheese lunch.
When I gave birth last year here at home, there were already long held plans of what I was going to do with my placenta. I wanted to plant it, to honour it and give it the respect it deserved by planting a tree over it. My only slight problem, was that I didn’t have access to dirt, real in the ground dirt.
My images of planting a tree, that would one day be metres and metres tall, providing shade and perhaps some sort of food that my grown up children could eat from, would have to be slightly deviated from. (We live in a rented apartment, with a small shared courtyard.) There were no substitute backyards to choose from for us and I wasn’t convinced some guerilla gardening placenta style in our local park would work with long term results.
So with that in mind, we kept it frozen in an ice cream container until the right day came along.
Finally the time felt right. A large pot was bought and filled, ready to take in the precious cargo. I still hadn’t quite decided on what plant was going to go in, but I was ready to make the first step in honouring our placenta. After some whispered personal words, and a few fascinated pokes, prods and careful watching from the little people. I covered it with soil. Loosely covering the top of the pot with another pot, so no neighbouring dogs would try to investigate. I could then let the placenta gently break down before having something planted over it.
One month went by, and it had completely broken down. Every little part of it. You would never have known what was once there. Magic.
Now I just had to decide what to go over the top?
I narrowed it down to a citrus or an olive tree. Something that could handle being in a pot and wouldn’t mind the somewhat brief sunlight that my little courtyard could offer it. I talked with Nick from Milkwood to see what he suggested and a cumquat came up. I felt a bit mean initially, as I was the only who actually liked them. But I did like them, actually I loved them, and maybe one day this little girl would love them too. What sold me completely was standing before the ‘Australian Cumquat’ in the nursery and seeing the sign say, “hardy” and “well suited to pots”. I think this was our plant.
I have had a few strange looks from people when I’ve mention what we did. However, now the idea of just tossing the placenta in a bin or incinerator sounds far more ridiculous and less than respectful to me. Our ‘Australian Cumquat’ has been planted, and along with it some companion plants along side it, (trying to think along permaculture lines.)
Chocolate Mint, chives, and alyssums for keeping moisture in, (instead of using mulch and being useful at the same time.) Plants chosen for being edible or encouraging of bees, hopefully not going to compete for too much root space and fragrant enough to deter pests. Two pots either side of this now also have regular mint and lemon balm. On the other side rosemary- which also flowers, encouraging bees and has a pest deterring fragrance. Above the cumquat on the fence line, more sweet scented alyssum.
I’m hoping I’ve got it right and these plants will all be happy where they are. At the very least, I’ve now got a tiny once concrete corner that is already bringing joy. Just knowing that in our tiny backyard space, our plants are doing what that precious placenta first set out to do, bringing life.
A tree of life.
*************
If you are thinking about planting your own tree of life, some sites that might be helpful.
They’re not Anzac Biscuits, I cut in with, probably a little indignantly…take another bite.
He takes another bite… Mmm, Anzac Biscuits!
Sigh. Oh forget it.
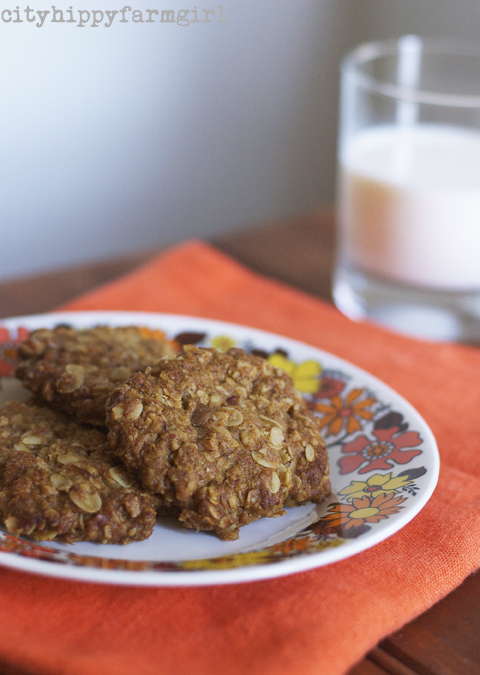
These are not Anzac Biscuits, (despite having oats and golden syrup in them) and looking a little (ahem) like them. Ground pecans is the secret ingredient here, combined with wholemeal spelt flour, and giving them a little earthier flavour. Just the thing to throw out to hungry small kids on school holidays, (who also seem to have an ever increasing appetite for…well pretty much everything.)
So if they’re not Anzac Biscuits, what do you call them?
In a bowl add all the dry ingredients and then also add the combined melted butter and golden syrup. Roll to a ball, and pop onto a tray. Gently flatten biscuits down and bake at 180C for about 20-25 minutes.
* These aren’t overly sweet. If you like your biscuits on the sweeter side add 50-100g of brown sugar.
“Often life’s pleasures pass us by simply because we don’t take a moment to focus on them… Make a point of noticing everyday something that uplifts your spirit or tickles your heart… Stop to breathe in the joy of this moment and then tell someone about it. Share your joy and revel in it. When your joy is savoured, and then shared, it is magnified…” ROBIN GRILLE
loving…
hearing gentle rain outside when you are warm and snug inside
loving…
loud squeals of delight after surprising The Monkeys with a spelt pikelet afternoon tea
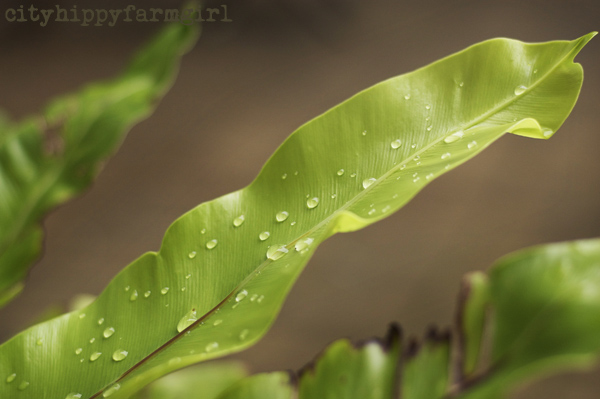
loving…
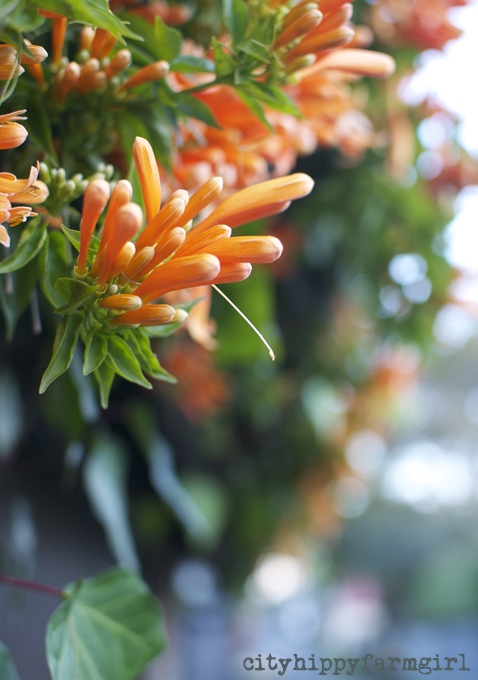
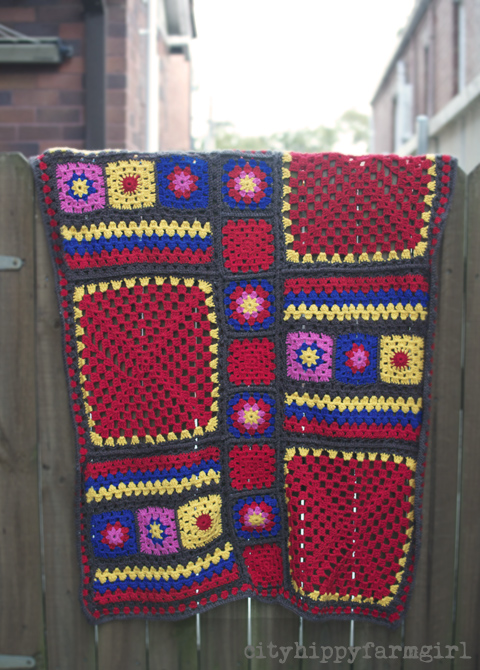
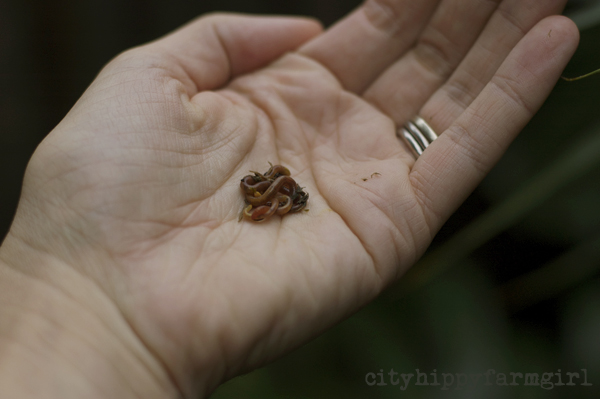
splashes of green, no matter how small they are.
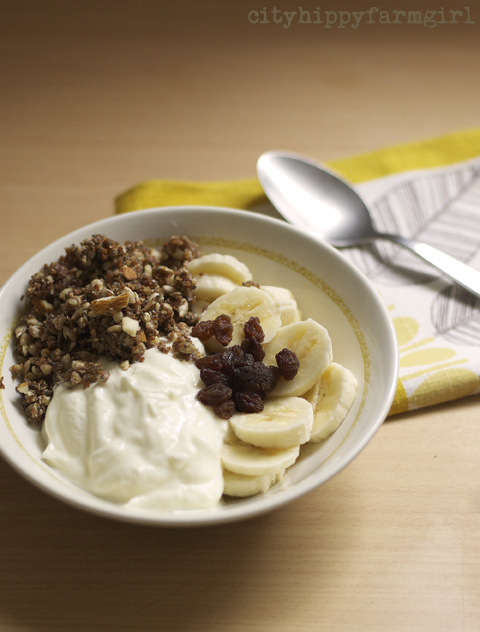
loving…
having the ability to eat whole foods that give strength and energy on days when you are feeling so very tired and flat.
loving…
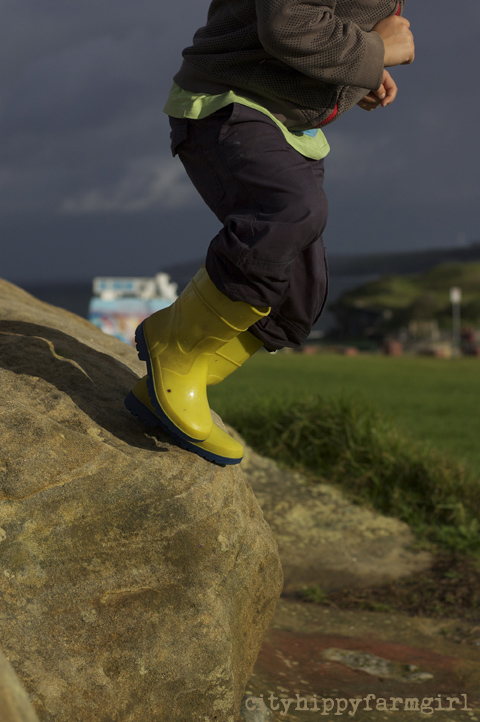
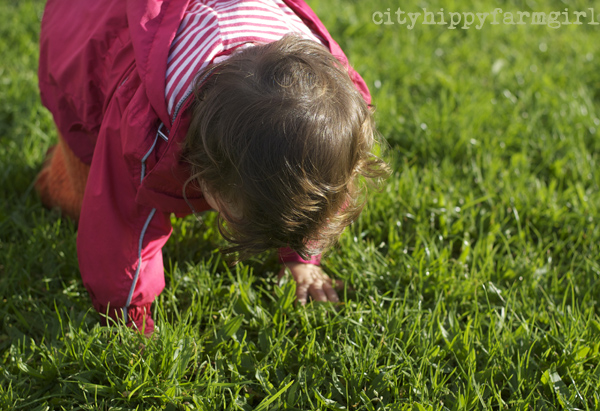
watching this little person grow and grow and grow. Special shoe selection of her own, (left foot shoes, she’s particularly fond of.)
What are some of those moments that have tickled your heart lately?
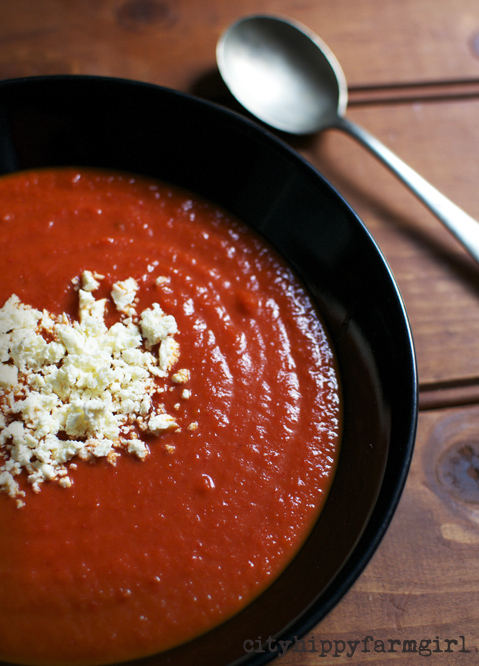
The last of the seasons locally grown hot house capsicums, were to be roasted and blitzed. Then teamed up with some smoked paprika and pretty much anything else I threw at it.
I’ve made this a few times now. Thick and chunky, teamed up with some crumbled fetta as a soup. Drizzled over pasta, added chilli and some other steamed vegetables worked through with it. Or lastly slow cooked with a chunk of pork neck. The sauce slowly gets cooked into the meat over a couple of hours and then gently pulls apart ready to be eaten with rice, entwined in a wrap, spread over the base of a ripper of a pizza. Or as my favourite so far, with a mix of sauteed beetroot leaves and stems, mushrooms, sprouted buckwheat, chopped fresh flat leaf parsley, kalimata olives, crumbled fetta and a squeeze of lemon juice, (quite the bowl full doesn’t it.)
What I like most about the basic smoky roasted capsicums, is that I can pin point exactly where everything that’s gone in there, has come from. Plus, there are hardly any ingredients.
Smoky Roasted Capsicums
roughly 8 large red capsicums halved and seeds taken out (farmers markets- grown just out of Sydney)
a couple of tomatoes, quartered (again from the same local market stall)
a couple of slugs of olive oil (grown and made in NSW)
roast it all down (210C) until they are soft
(if garlic is in season and locally grown I’d be throwing that in too.)
Add some water, about 500-750mls (or stock if you have it) if you want it as a soup and blitz with a hand held mixer (or blender.)
Add a teaspoon of sweet smoked paprika (the only non local product)
If adding meat, I have used a pork neck (from a happy pig) and cooked on slow in the sauce for about two hours. Cool it down and gently pull apart.
The night before I started, I’d questioned myself a little. Why was I doing this course when we still lived in a small flat in a very busy city? Wasn’t this the sort of course that you did when you had access to land or at the very least, had a small back yard?
The next day, listening just ten minutes in to Nick Ritar from Milkwood speaking, I knew I had made the right decision. This was definitely the course for me. It was one of those moments where I had felt simultaneously like laughing and crying at the same time….that’s how right it felt.
I had signed up to do the Introduction to Permaculture weekend course, and have come away from it utterly renewed and inspired…totally inspired. (Just quietly, I think my brain exploded a little that weekend.)
My dreams of living elsewhere in a far less big city fashion, have been whole heartedly renewed. However I’ve also been totally inspired to do more where I am, in this very moment as well. Living by permaculture principles is totally workable in an inner urban environment, not only workable…it should be compulsory. Can you imagine if permaculture was a subject taught in all city schools along with reading and maths? A subject that was just naturally incorporated into our learning curriculum? Changes people, massive changes, and I can’t see how it would be anything but overwhelmingly positive.
So what am I going to do with my newly permaculture exploded brain?
I am going to run with it. I’m going to start with some teeny tiny changes that are going to make an impact on the way my family and I live, and then I’m going to hopefully branch out a little and slowly shake things up.
I’ve got dreams again and I’m not afraid to use them.
I really do. It’s where wonderful things are created and made. Once again, I’ve been having frequent day dreams of what my dream kitchen would look like. No detail is too small to think on. Bench space, natural light, decent storage, bench space, a cookbook shelf, tall stools so people can still talk to you and interact while I’m cooking, (I don’t want to be shut away)…bench space, did I mention that one?
So with all that kitchen thinking, what has actually been happening in my kitchen lately?
Well, I’ve tried Tania’s hot water pastry and loved it to bits. I hadn’t done pastry like that before, loving that it was incredibly easy to make and versatile to roll and shape. (Just how I like my pastry to be.) I had my sights on a Timpano. After watching the movie Big Night seventeen years ago, I still had that one dish on my mind. So finally it was Timpano time. I looked at a few google images and decided there weren’t any particularly flattering shots of the mother of all pasta dishes, I wondered why that was?
Because it’s a complete and utter mess to photograph! Well mine was anyway. It tasted good though, so have vowed to make it again, and see if I can possibly find a flattering side to Signor Timpano.
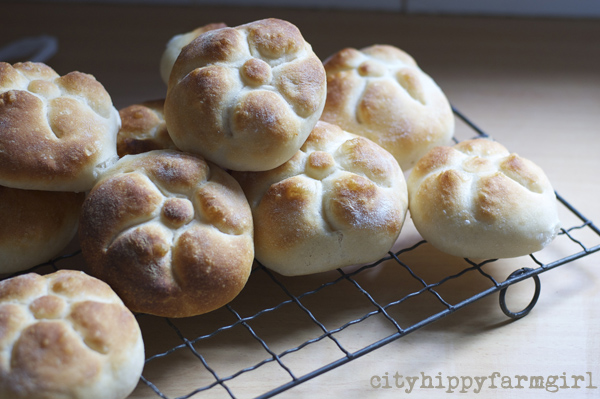
Renewed love for my rosette bread stamp. I hadn’t used it for a while, so have been happily rediscovering it.
Discoveries of new fair trade chocolate. Made in Madagascar, now that’s a little bit exciting.
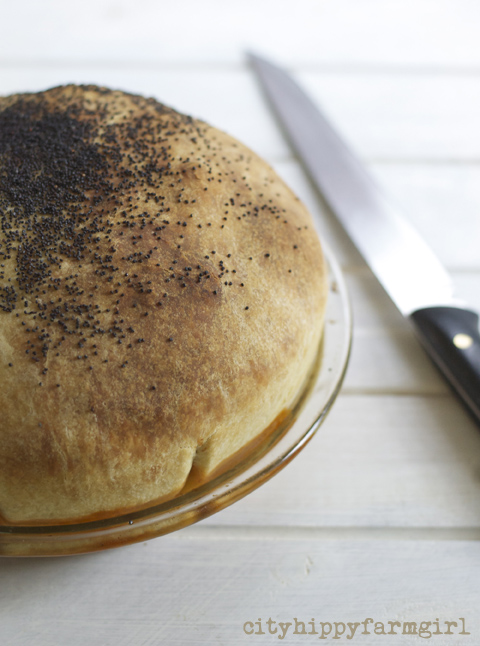
And after my last post on a simple every day sourdough recipe, I played with this fella. Max and Becs were asking about no knead bread baked in a cast iron pot and would it work for sourdough. I hadn’t done this method before so I wanted to give it a go. Now I don’t have a cast iron pot but I did it with as little handling as possible, and baked it in a souffle bowl. Did it work? Yes, I think it did. I didn’t get those bubbles and air pockets in there, so it’s a much tighter crumb. But maybe a wetter dough would be more forgiving with the lack of folding/ handling that would normally trap a few more holes.
This is how I did mine.
Mix ingredients together, (I use a mixer) wait for about 40 minutes then add the salt. Mix again and put dough in a really well oiled souffle bowl. Stick a plastic bag over the top and put in the fridge for about 12 hours (over night). Back out on the bench, and bring it back to room temperature. (It’s cold here at the moment so this took about 4 ish hours.)
Baked in the oven with steam at 230C on the top shelf for 20 minutes and ten minutes on the bottom shelf. It stuck a tiny bit round the sides when I went to get it out as it had been nestled in the souffle bowl for 16 plus hours, a little loosening with a knife and it popped out though. If you didn’t want to do that you could line it with bakers paper as well, (or cast iron pot if you have one.)
I would definitely play around with a slightly wetter dough next time, just to see what the crumb structure would be like. It also shows that once again, sourdough, you are a forgiving beast and I love you to bits.