everyday rolls

rolls

If you are a regular reader of this blog, you might have noticed I bake a little bread… ok, rather a lot of bread.

Bread making doesn’t have to be a chore. Once you get the hang of it, it can just become a part of your weekly routine. I make bread about twice a week these days, the kind of dough always varying depending on my time, tastes and what I might have on hand to chuck into the dough.

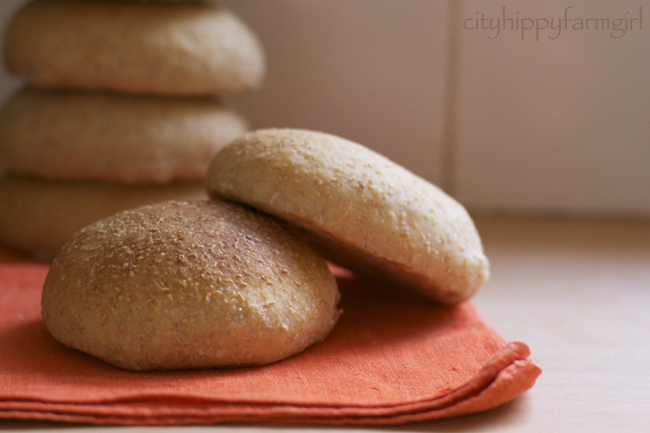
These everyday kind of rolls frequently pop up though. They are quick to make, always reliable, and easy to throw into the freezer to be retrieved later for school or work lunches.

Making your own bread keeps costs down and you get to decide what goes into it. No paragraph of “stuff” in my bread please.

For an easy ‘how to’ post, see here (how to make bread for the person who thinks they can’t, but really they can.)

Now this ratio is entirely adaptable. If you don’t want bran in it, simple replace it with flour or something like linseed/ sunflower kernels.

No olive oil? Replace with a little extra water.

If you don’t have a starter, just replace the 150g with another tsp of commercial dried yeast. (If you would like to make your own starter- like the lovely Laura did recently- step by step instructions are here. )

cityhippyfarmgirl

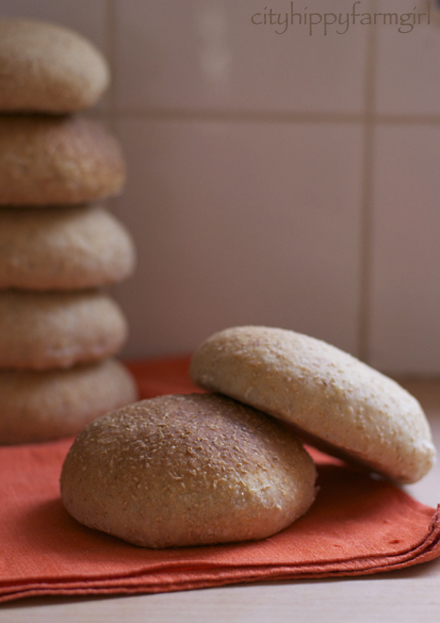
Everyday Bread Rolls

150g starter

1 tsp dried yeast

300mls water

1/2 cup unprocessed bran

2 1/2 cups flour

1 1/2 tsp salt

3 tbls olive oil

Add starter, yeast and water together. Whisk and leave for 10 minutes or so. Mix remaining ingredients together and leave for about 30 minutes. Add the salt and then mix or knead again, (I use my mixer.) The dough needs to be smooth and elastic. Leave to prove for a couple of hours, with a couple of knock backs in between.  Shape into rolls and place on a lined tray, allow to prove for another hour or so.

Cook for about 15-20 minutes at 220C-230C with steam.

sweeping the flour off

the 'flour' after it had been swept...

I’m just sweeping the flour off mama.

It’s a line like that, that stops a girl in her tracks. Stops her right dead in her tracks. Eyebrows fly up and mouth forms a perfectly formed silent O.

Ohh…really little one? Hoping that my first thought after hearing that one little line was wrong… really wrong.

He clarified it for me, by repeating the gesture. See, mama… this how I sweep off allll the flour.

The dirty old house broom gets raised once again, to sweep off the icing sugar delicately dusted over my newly baked Pan de Mallorca.

Nooo!!… Startled and quite surprised he’s the one that now stops dead in his tracks.

I think that’s fine little one, oh, yes…quite enough sweeping I think. Gently prising the broom handle from his Little Monkey paws.

I was only gone five minutes. That three year old is a quick one to tidy.

'flourless' pan de mallorca

I made these last weekend, and again this weekend. I wanted something easy, Monkey friendly and something I could whack in the freezer, ready to be pulled out for standby Monkey Boy school lunches and Little Monkey at home lunches when things were looking just a bit too crazy in the mornings for much else. They both loved them, which is lucky as the crazy mornings happened quite a bit last week.

Pan De Mallorca

(adapted from SBS Feast Magazine March edition)

(and very similar to the Pan de Leche that I’ve made before)

1 tsp dried yeast

100g melted butter

1/4 cup (55g) sugar

3 egg yolks

1/2 cup (125mls) milk

3 cups (450g) flour

3/4 tsp salt

100-150g sourdough starter *

extra brown sugar and cinnamon (or a cooked up diced apple tastes great too.)

In a bowl, add dried yeast, sugar, sourdough starter and 60mls tepid water. Stir to dissolve and set aside for 5 minutes until mixture begins to bubble. Add remaining ingredients and mix well. Turn out on to a lightly floured surface for a quick knead. Mixture should look smooth and elastic.

Pop back in the bowl and cover, leaving to prove for about an hour. Turn out on to lightly floured surface again, rolling dough out into a rectangle shape. Sprinkle several spoonfuls of brown sugar and a little cinnamon onto dough and roll up, (from the long side.) Cut dough into circles and place on a tray. Cover and prove again for about 30-60 mins, bake at 180C for 25 minutes.

Dust with ‘flour’, (icing sugar)

* If you don’t have a sourdough starter, using just the dried yeast is fine, take out half a cup of the flour from the mixture to adjust the recipe.

(This post submitted to yeastspotting)

it’s all gone a rye

When I was a little kid all I wanted for lunch was a white sliced sandwich in triangles. Ideally with devon, tomato sauce and slapped together with so much butter it would make even a French chef frown. Why did I want that? Because that’s what I didn’t have. That’s what other kids had.

I had the sensible bread with grains or wholemeal, with nutritious things inside. Up until about 9 years old I could potentially have a cheese, chutney and sprouts sandwich. This was my mum’s idea of a delicious sandwich, and perfect for a healthy growing-at- a-cracking-rate young girls lunch. At 9 years old though, enough was enough. My palate wasn’t that developed yet. Not developed enough for chutney and sprouts anyway.  Although I never threw my sandwich out, I did hastily eat it hoping it would just quickly fill me up and no one would see it and say ….ewww whats that? On the odd occasion it may have found itself under my bed…where it may have sat there, next to a book (The Secret Seven) and slowly grow its own penicillin…

Alright that only happened the once, but at 9 years old I decided that I would take over the reins of making my own sandwiches. No more chutney and sprouts thanks. Salami and cheese would be fine. Salami and tomato. Tomato and cheese. They were the three combinations I had pretty much throughout my school career. Until I got to my final year of highschool and I stepped it up a notch and had capsicum and cheese. They were certainly exciting sandwich times.

How things have changed now though. As an adult…phew. Bread and all its loveliness. All the wonderful concoctions you can have for a simple sanga. Since embracing the heady world of sourdough, those concoctions have got even more enticing. This Apple Walnut Rye included…

* So will The Monkeys be having white sliced bread with devon and tomato sauce for their school lunches? Hell no! Do you know what’s in that stuff?!

Apple Walnut Rye Sourdough

200gms starter

225gms of rye flour

225gms of plain flour

200mls water (approx)

1 1/2 tps salt

1/2 chopped apple

1/2 cup chopped walnuts

a shake of cinnamon

Mix up rye dough as usual, when it’s time for the first fold, add apple and nuts. Folding them carefully in. I did an over night ferment, then baked at 250C until top was golden looking. Then popped it out of the tin and baked a further 10 minutes, while turning the oven down to 200C.

The top came out a little messy, but I was happy with the consistency and it just feels so healthy when you eat it. I’m loving this one for breakfast at the moment. And to totally cancel out the health factor, slap some peanut butter on there- so thick you could walk on it…mmmm.

Light Rye Sourdough

350gms starter

300gms rye meal

300gms bakers flour

480 mls water

1/2 cup sunflower seeds

1 1/2 tps salt

Mix ingredients. Wait for 20 minutes, then add salt and mix again. Let it prove for 1 1/2 hours. First fold. Prove for another 1hour. 2nd fold. In oiled tin, rise for another hour. 11 hour ferment in fridge. Out for 1/2 an hour on the bench. Slash. Then baked at 250C for 20mins top shelf, (steam) then a further 15 mins on the second shelf.


*This post submitted to Yeast Spotting