Whether you are are just starting out on your fermentation journey, or have been dabbling in the delights of beneficial bacteria for awhile now, making beetroot kvass should be on your to do list. Here’s a couple of quick wonderful reasons why.
It’s Easy- Really, dead easy. Doesn’t require any crucial measuring of ingredients and is incredibly satisfying seeing the fermentation process begin within a relatively short space of time.
Your Liver- Will thank you, yes it will. Lots of info on what it does can be found here.
Probiotics are your friend- That’s good bacteria in a nutshell. You want your gut full of this stuff, full of a wonderful diverse array of different bacteria and enzymes. (Anything naturally fermented helps with this.)

Now importantly how does it taste?
If you are already accustomed to the earthy tones of raw beetroot in fresh juices, this stuff won’t be pulling any surprises. Seeing as though I’m a relative newcomer to actually liking beetroot in it’s (ahem) uncanned state, to me it tastes like…licking dirt.
Being an avid fan of anything fermented though, I shall persist and my liver will thank me for it. (Or it had better, there has to be some perks of drinking this garden tasting juice.*)
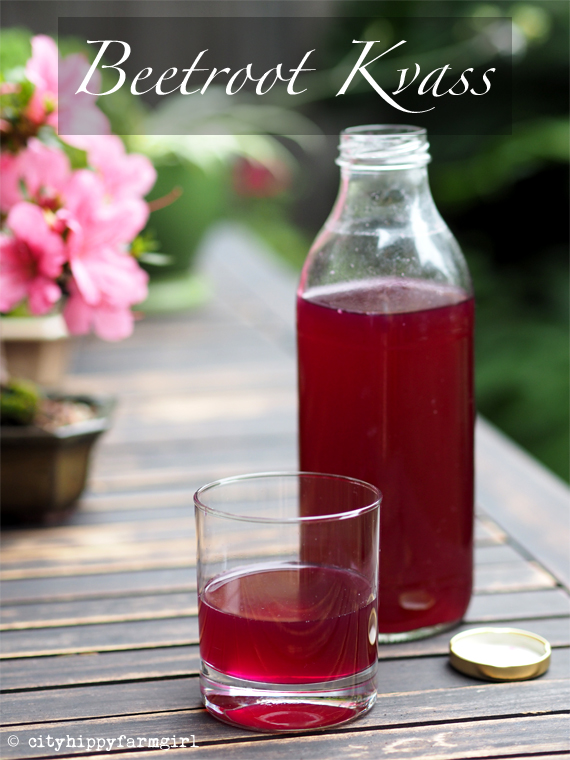
Beetroot Kvass
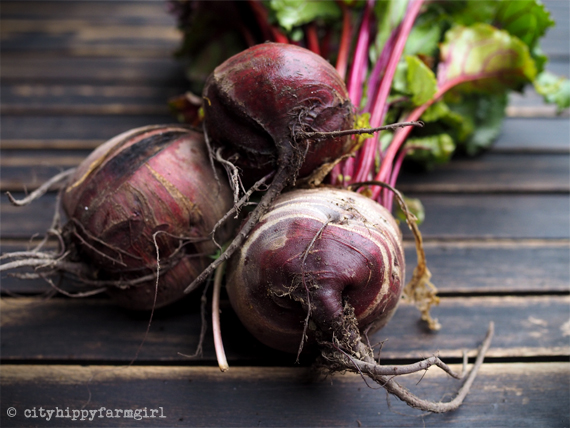
3 medium sized beetroot
1.5 litres cool boiled water
2 pinches of salt
Peel the skin off your beetroot and dice them up, approximately 1cm squares, if they are 2cm it wouldn’t be a tragedy however.
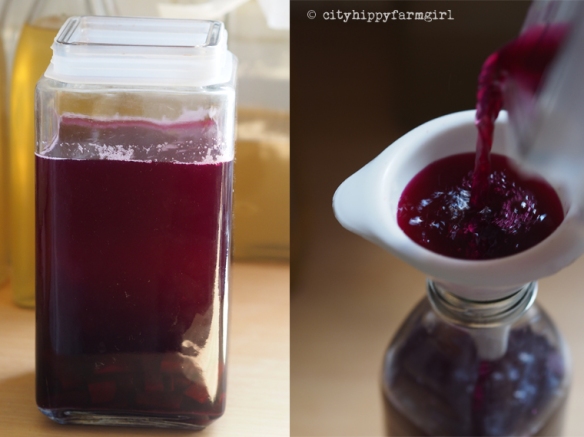
Pop the beetroot in a large clean glass jar, something with a wide mouth. You need the air yeasts to get to the kvass, so a large wide mouth jar is great to use. Add your salt and water, give it a little swish around to make sure the salt is dissolved and cover with a square of muslin (or paper towel) and a rubber band. Now to get things cracking a little earlier, I did add about 1/4 cup of sauerkraut juice to kick-start things a little, you could also add whey (as per Sally Fallon’s Nourishing Traditions) or nothing and just be dependent on the air yeasts that will get things fermenting.
Have a good smell of it before you put the muslin on. Your nose, eyes and taste buds are the key to great fermenting. Smell the changes as they take place, see them and lastly give it a taste test. Let those three things guide you.
I started seeing bubbles with 24 hours surprisingly, however I let it ferment for a further few days. The length of time is going to depend on the season and how warm it is in your kitchen.
*************
If you are new to fermenting I highly reccommend Sandor Katz’s book The Art of Fermentation it’s easy to follow and really is a ‘forever’ book that you’ll keep dipping into dependent on what you’re interested in at the time.
* You can add ginger lemon rind etc as a second ferment to tweak the flavour a bit.


I love that “dirt” flavour. I wonder if it is a component of umami? I was going to ask you how it tasted but if it tastes like dirt, I am in! Cheers for the share and the enlightenment oh great sage 🙂
LikeLike
I knew you would be 😉
LikeLiked by 1 person
This is amazing!!! – I’ve never heard of ‘Beetroot Kavas’… I love fresh beetroot and will definitely be giving this a go thanks!!!
LikeLike
Wonderful Jodie, give it a crack and let me know how you go. If you love fresh beetroot, well you are already there in my book.
LikeLike
Lovely post and photos. You are the fermenting queen Brydie. I’ve not even heard of Beetroot Kvass but I’m seriously intrigued. I like the sound of adding ginger and lemon rind to disguise the earthiness. Real kimchi from a local Melb company, the Fermentary, has become my latest addiction (have been dolloping it on my brekkie eggs!); but I really must give this stuff a crack myself one day 🙂 The Christmas holidays are beckoning, and they’re my usual months for kitchen experimentation…
LikeLike
Saskia you kick startered me into playing more with fermentation, honestly just do it! Kimchi is delicious, sauerkraut tasty, kombucha hits the spot and honey mead is divine. The fermenting world awaits…now got out into to it lady 🙂 If you start with anything, the beet kvass is certainly an easy one.
LikeLiked by 1 person
I needs me some mead. OK, I’m gonna do it. After Christmas 😉
LikeLike
I’m quite sure my liver could do with some of this. I definitely need to get into fermenting. The benefits of it are amazing! xx
LikeLike
We take fermentation and probiotics seriously over here. This looks fun too. Pinned for my reference and shared. Great post!
LikeLike
Pingback: Must have gut lovin’ goodness list | cityhippyfarmgirl